How to create a glassmorphic design in Sketch
Use blurs, gradients and texture to create a glassmorphic design in seven simple steps
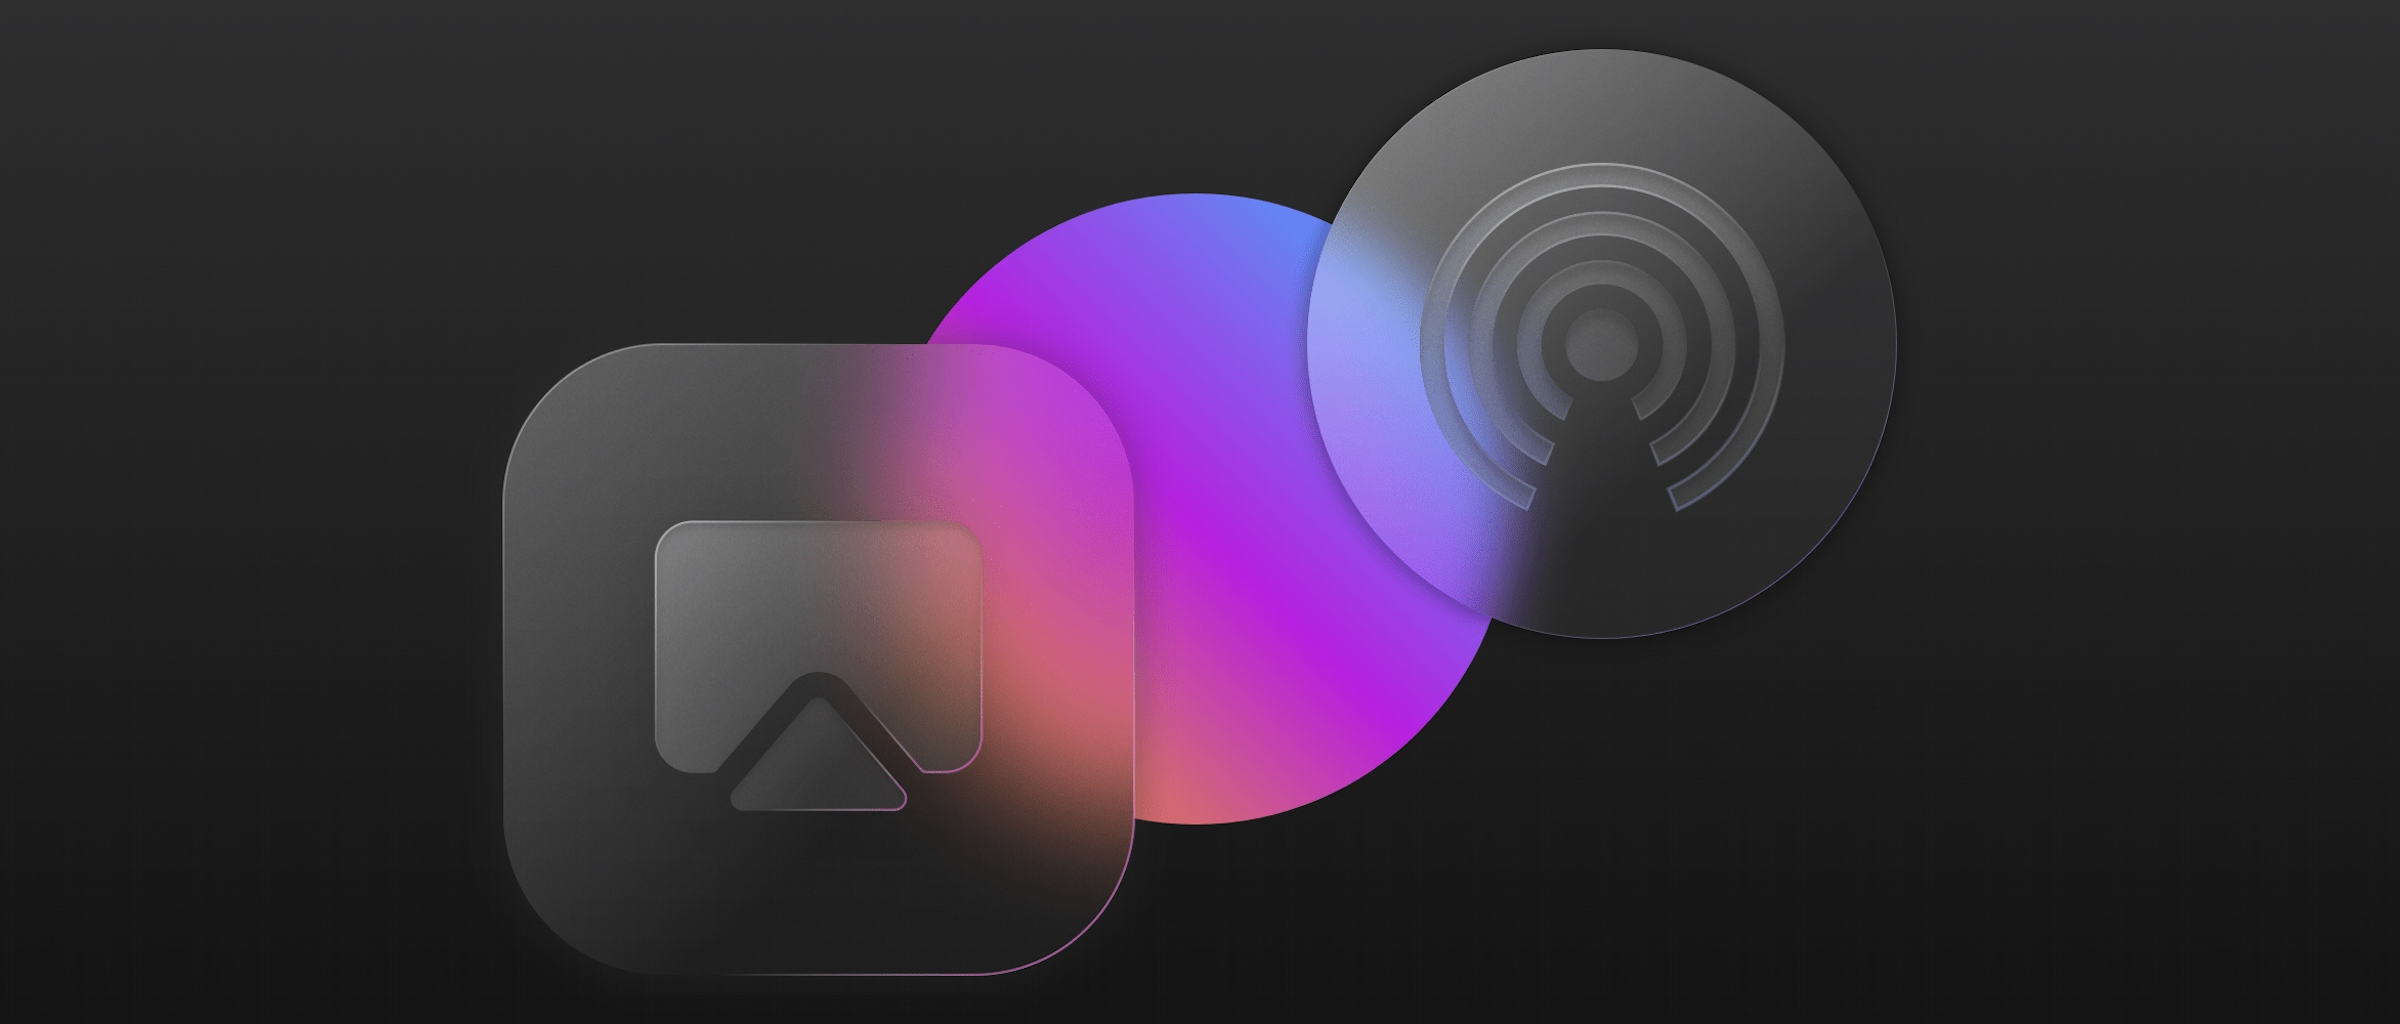
In case you hadn’t heard, skeuomorphism is back. And if you want to try your hand at some of the latest versions of the trend, you’ve come to the right place. Today, you’ll learn how to create a glassmorphic design in Sketch — that’s a design that includes elements that have a frosted glass effect.
This one isn’t super complex, so it’s great for beginners — and you’ll learn some useful skills along the way. Let’s get started!
What is glassmorphism?
Glassmorphism is one form of skeuomorphism, a design practice that involves mimicking real-world objects. Skeuomorphism goes beyond shape and color, focusing instead on texture, light and shadow, and dimensions.
Glassmorphic designs specifically focus on recreating glass-like textures in design — often resulting in a transparent or translucent look and feel to different elements. These work particularly well when set against colorful backgrounds, and can add an extra dimension to your design, helping to create a feeling of hierarchy.
Now that you know what glassmorphism is, let’s find out how to make a glassmorphic design!
1. Create an oval
First, create a 500x500 Artboard, then add a 300x300 oval. Give it a linear gradient using the third Global Gradient Preset — this will be your background to test your glassmorphic element.
2. Create and position a rectangle
Next, create a 300x300 rectangle and give it corner a radius of 75 using the Rounded corner style. Place it in front of the oval shape and slightly offset it so you can still see a good portion of the oval behind.
3. Add a linear gradient
Give the rectangle a linear gradient. Position the gradient so it extends diagonally down from the top-left corner of the rectangle. Then set the top-left point to #FFFFFF with an Alpha of 50, and the bottom-right point to #FFFFFF with an Alpha of 5.
4. Add a background blur
Now, let’s add a background blur to the rectangle with a value of 20. You should instantly start to see the glassmorphic effect in your design — but we’re not done yet!
5. Add a border gradient
Next, give your rectangle a border gradient. This will help enhance the feeling of reflections appearing on the edge of the glass. Following the same angle as the gradient we used above, set four points on the gradient, equally spaced, and set the top one to #FFFFFF. The middle two will use an Alpha value of 0, and give the top-left point an Alpha of 50. For the bottom-right point, use the eyedropper to select a color from your background shape, and keep the Alpha at 100.
6. Add some texture
It’s looking good, but we can make it look even more like frosted glass by adding some noise. Add a new Image fill to your rectangle choosing the second Global option. Choose the Tile Image display mode, reduce the size to around 50%, and set the opacity to 5. Then change the blending mode for the Image layer to Overlay.
7. Add a shadow
Finally, add a shadow to your rectangle. Set the color to #000000 with an Alpha value of 25, the X value to 0, the Y value to 1, the Blur value to 24 and the Spread to -1. This will create a feeling of depth in your shapes to make it feel even more real. Nice work — you’re done!
Now that you’ve created your glassmorphic shape, you can play around with some of the elements until you’re happy with the effect. Then try adding icons to it or optimizing it for different backgrounds and colors.
Once you’ve done that, why not share it with us? We always love to see your latest Sketch creations using #MadeWithSketch on Twitter and Instagram.


